
Restaurant Recipes
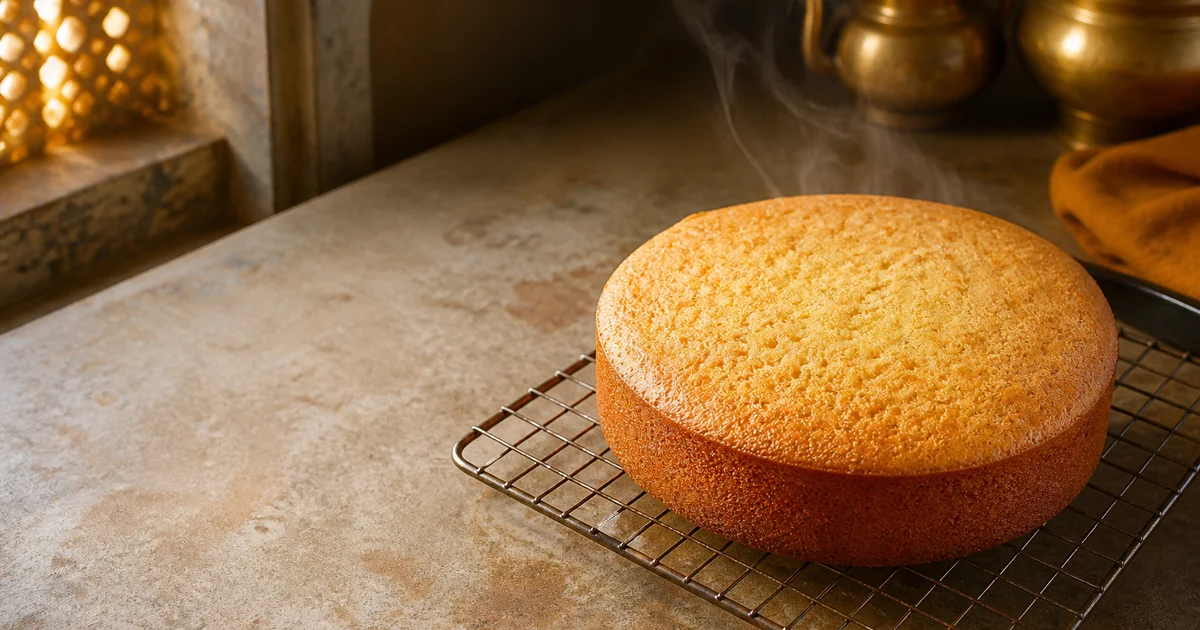
Commercial Bakery Sponge Cake
A commercial sponge cake recipe producing two bakery trays and about 40 controlled portions for pastries, layered cakes, food carts and dessert service.
- Prep
- 30 min
- Cook
- 30 min
- Total
- 1 hr
- Yield
- 2 trays, about 40 portions
- Difficulty
- Medium
- Cuisine
- Bakery
Method
- 1
Prepare oven and trays
Preheat a convection oven to 170°C or a deck oven to 180°C, allowing at least 20 minutes for temperature recovery. Line two 450 x 330 x 50 mm trays with baking paper and keep the tray sides clean. Confirm the chamber temperature with an oven thermometer.
- 2
Sift the dry ingredients
Sift the cake flour, cornflour, baking powder and salt together twice. Break up every lump and keep the mixture dry. Complete this before whipping so the aerated batter does not wait.
- 3
Load the mixer bowl
Place the eggs, sugar, water, vanilla essence, sifted dry ingredients and sponge cake emulsifier in the clean mixer bowl. Mix on low speed for 1 minute, stopping once to scrape the bottom and sides. The mixture should be smooth with no dry flour visible.
- 4
Whip to ribbon stage
Whip on medium-high speed for 7 to 9 minutes, depending on mixer performance. The batter should become pale, glossy and roughly triple in volume. Lift the whisk and check that a ribbon remains visible for 3 to 4 seconds before sinking.
- 5
Temper and add oil
Remove about 500 g of batter and blend it gently with the oil until no oily streaks remain. Return this mixture to the main bowl and mix on the lowest speed for 30 to 45 seconds. Stop as soon as the colour is uniform because excess mixing will collapse the foam.
- 6
Weigh batter into trays
Divide the batter equally between the prepared trays, targeting approximately 2.1 kg per tray. Spread it gently to an even depth and tap each tray only once to release very large bubbles. Load the oven immediately.
- 7
Bake until evenly set
Bake at 170°C convection or 180°C deck for 25 to 30 minutes. Do not open the oven during the first 18 minutes; rotate the trays once after that only if the oven has a proven hot side. The sponge is ready when golden, springy at the centre and a skewer comes out clean.
- 8
Release and cool fully
Rest the baked sponge in its tray for 5 minutes, then loosen the edges and turn it onto a cooling rack. Remove the paper carefully and cool for 45 to 60 minutes until the centre is below 30°C. Do not wrap warm cake because trapped steam makes the surface sticky.
- 9
Trim cut and store
Trim only the uneven edges, then cut each tray into 20 portions using a measured five-by-four grid. Wrap plain sheets or portions as soon as they are fully cool. Label each pack with the production date, batch and intended use.
Notes for your kitchen
This sponge cake recipe produces two consistent bakery trays that can be sold as plain slices or converted into pastries, layered cakes and plated desserts. The batch makes about 40 portions and is designed for a planetary mixer, commercial trays and a deck or convection oven. Its neutral vanilla flavour works with cream, chocolate, fruit, custard, syrup and local bakery-style decorations.
Why this sponge works commercially
A useful commercial sponge must be light enough for pastries but strong enough to cut, fill and transport. This formula uses egg foam for volume, a controlled amount of emulsifier for batch reliability and oil for moisture retention. The finished crumb is flexible rather than brittle, so trimmed sheets can be layered without breaking and individual portions can survive food cart handling.
The two-tray batch also suits production planning. One tray can be sold as slices while the second becomes cream pastries, jar desserts, trifles or pre-ordered cakes. A neutral base reduces the need to prepare separate batters for every menu variation.
Ingredient selection and quality
Egg condition, flour strength and emulsifier performance matter more than expensive flavouring. Weigh eggs without shells because egg size varies considerably. Use clean, fresh eggs at 24 to 28°C; cold eggs take longer to aerate, while very warm eggs can produce an unstable foam.
Choose low-protein cake flour or soft maida that gives a tender crumb. Strong bread flour develops too much gluten and can make the sponge tight or rubbery. Cornflour softens ordinary maida, but it must be sifted thoroughly to avoid white pockets.
Use a bakery sponge emulsifier from a supplier with steady stock turnover. Different brands of cake gel or SP do not always perform at the same dosage, so test a new carton before changing the full production batch. Fresh double-acting baking powder provides support, but it cannot correct an under-whipped batter. Neutral refined soybean oil is suitable because a strongly flavoured oil remains noticeable after baking.
Mixing technique and foam control
The correct batter is glossy, thick and able to hold a ribbon briefly on its surface. Keep the mixer bowl and whisk completely free from old grease, detergent and dried batter. Begin slowly so the dry ingredients hydrate without flying from the bowl, then use medium-high speed to build a fine, stable foam.
Do not judge whipping only by the clock. Mixer speed, bowl shape, egg temperature and emulsifier brand all affect the result. Record how much batter fills a fixed cup and compare its weight between batches; a heavier cup indicates weak aeration, while an unusually light and coarse batter may collapse in the oven.
Oil is the most dangerous addition because it can sink through the foam. First blend it with a small portion of finished batter, then return that mixture to the bowl. Use the lowest speed only long enough to remove streaks. Long mixing after the oil goes in reduces volume and toughens the crumb.
Oven consistency and tray planning
Consistent sponge height depends on equal tray loading and verified oven temperature. Use the same tray material and dimensions for every production run, and place approximately half the batter in each prepared tray. Spread gently to the corners without repeatedly pressing out the air.
Check the oven with a separate thermometer because control-panel temperatures are often inaccurate. Map hot areas by noting which side colours first. Keep space between trays for airflow, avoid opening the door during the first 18 minutes, and rotate only once near the end if the oven has a known hot side. In a deck oven, excessive top heat sets the crust before the centre rises; excessive bottom heat creates a dark, dry base.
Scaling the batch safely
Scale every ingredient by the same multiplier and keep the batter depth unchanged. For a half batch, multiply every listed quantity by 0.5 and use one tray. For a double batch, multiply by two but confirm that the mixer has enough bowl volume for the expanded foam.
A mixer should not be filled merely because the raw mixture fits inside it. Sponge batter expands substantially during whipping and needs open space around the whisk. If a larger order exceeds the tested capacity, mix separate complete batches rather than holding half-mixed batter. Fill and bake trays immediately because aerated batter loses strength while waiting.
Holding and service
Plain sponge should be cooled completely, wrapped tightly and served at room temperature. At an air-conditioned room temperature of 25°C or below, use the unfilled sponge within 24 hours for the best texture. In a hot or humid non-air-conditioned stall, shorten ambient holding to 8 to 12 hours and keep the product covered from dust and moisture.
Wrapped sponge can be refrigerated for up to three days, although refrigeration gradually firms the crumb. Bring portions back to room temperature while still wrapped so condensation forms on the wrapping rather than the cake. Freeze unfilled sheets or portions for up to 30 days with parchment between layers, then thaw them wrapped. Reheating is normally unnecessary; if a warm plain slice is required, heat it at 100 to 110°C for 2 to 3 minutes only.
Portioning and yield control
This batch should produce 40 saleable portions when each tray is cut into five columns and four rows. Mark the cutting positions with a ruler or fixed template instead of estimating by eye. Depending on trimming and baking loss, each plain portion should generally weigh about 80 to 90 g; establish the exact house target from several recorded batches.
Cool before trimming because a warm sponge compresses under the knife. Use a long serrated knife and wipe it between cuts. Record edge trim, broken pieces and stale returns instead of hiding them inside portion weights. Follow a written portion control system so pastry layers and individual slices use the same standard.
Mistakes that cost money
The most expensive sponge failures come from poor weighing, delayed baking and uncontrolled ovens. Counting eggs instead of weighing them changes the liquid and protein balance. Adding extra baking powder to compensate for weak foam creates large tunnels, a bitter aftertaste and a collapsed centre.
- Dense bottom: Oil was not tempered into the batter, or the filled trays waited too long before baking.
- Sunken centre: The cake was underbaked, the oven door opened early, or too much liquid was added.
- Dry edges: The tray was overloaded with heat, baked too long or left uncovered after cooling.
- Uneven height: Tray weights differed, the oven was not level or batter was spread aggressively.
- Rubbery crumb: Strong flour was used or the batter was mixed too long after aeration.
Keeping food cost stable
Stable sponge cost comes from controlled tray weights, accurate cutting and planned use of every sheet. Eggs are usually the largest moving ingredient cost, while emulsifier quality affects whether a full batch becomes saleable. Use a proper recipe costing sheet and monitor the resulting food cost percentage when egg or oil purchase rates change.
Standardise suppliers and record the yield from every bake. Clean trim can be converted promptly into trifles, cake jars or dessert crumbs, but burnt, contaminated or stale trim must be recorded as wastage. Rosuii can record the sponge as a production that turns raw materials into finished stock, then track wastage and item sales without treating every sale as an automatic recipe deduction.
What drives the cost
Eggs usually dominate the ingredient cost, with sugar and oil contributing the next significant share. Egg market rates, shell loss, emulsifier performance and rejected batches move the real cost most. Controlled tray loading and portion weights are essential for stable yield.
Ingredient rates move with the market, so this describes what drives the cost rather than quoting a figure.
Questions from kitchens
Can this sponge cake recipe be doubled in one mixer?
How long can plain sponge be held for service?
Can the sponge emulsifier be omitted?
Can ordinary maida replace cake flour?
How do I keep the yield at 40 portions?
Related recipes
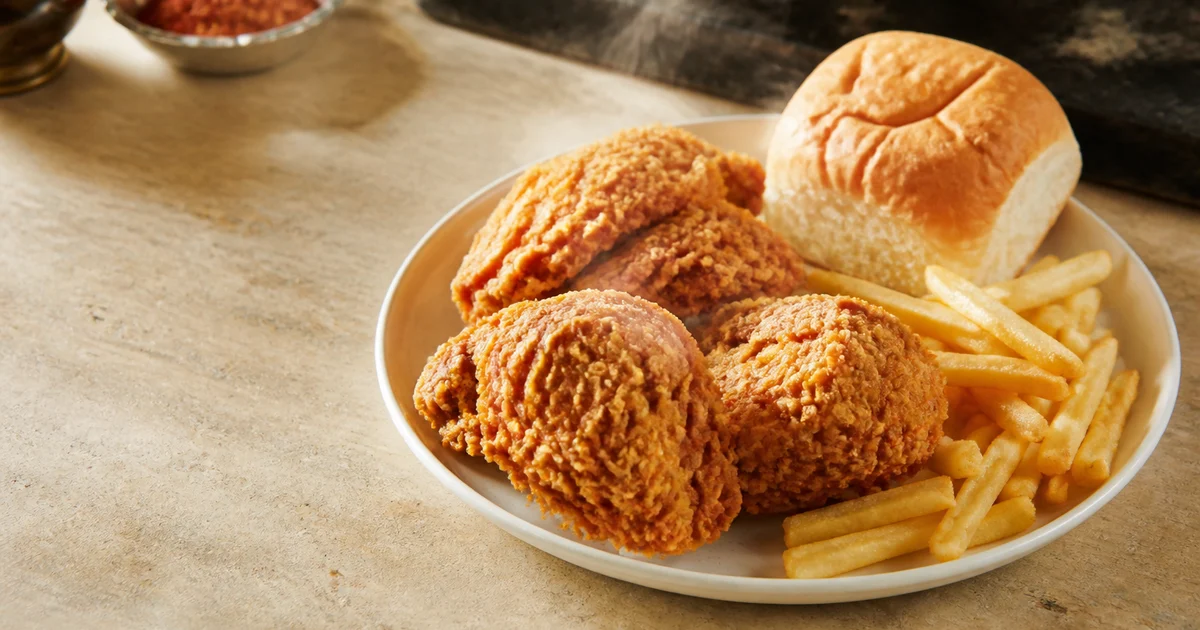
Commercial Chicken Broast Recipe
A commercial chicken broast recipe for 40 plates, with controlled marination, crisp double coating, two frying methods and practical holding guidance.
- Yield:
- about 40 plates
- Total:
- 1 hr 45 min
- Difficulty:
- Medium

Commercial Chicken Corn Soup Recipe
A commercial chicken corn soup recipe yielding 12 litres, with controlled stock, cornflour thickening, safe hot holding and 250 ml portions.
- Yield:
- about 48 bowls of 250 ml
- Total:
- 2 hr 35 min
- Difficulty:
- Medium
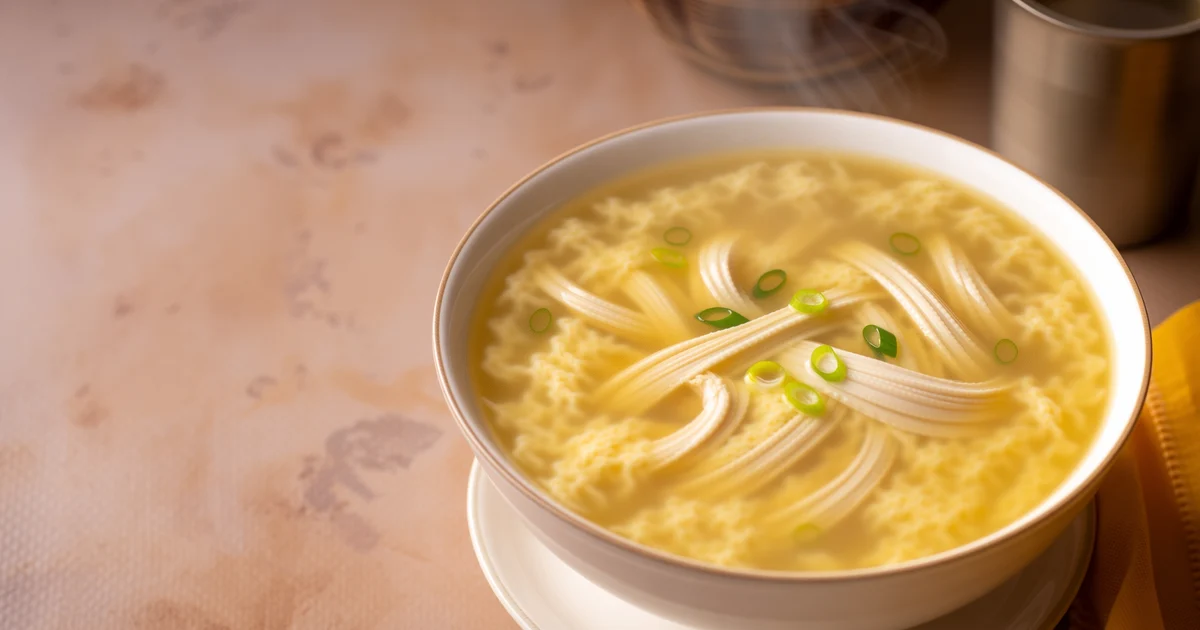
Restaurant Chicken Soup Recipe for 40 Portions
A commercial chicken soup recipe producing about 10 litres, with daily chicken stock, controlled cornflour thickening, egg ribbons and safe hot holding.
- Yield:
- about 40 plates
- Total:
- 2 hr 30 min
- Difficulty:
- Medium
Run your restaurant on Rosuii
POS, menu, inventory, payroll and more — built for Bangladeshi restaurants.
Start free