How to Set Up a Restaurant POS in One Day: A Checklist
You can set up a restaurant POS in a single day if you work through it in order. This checklist covers menu and categories, printers, bKash and Nagad payments, staff and roles, and tables.
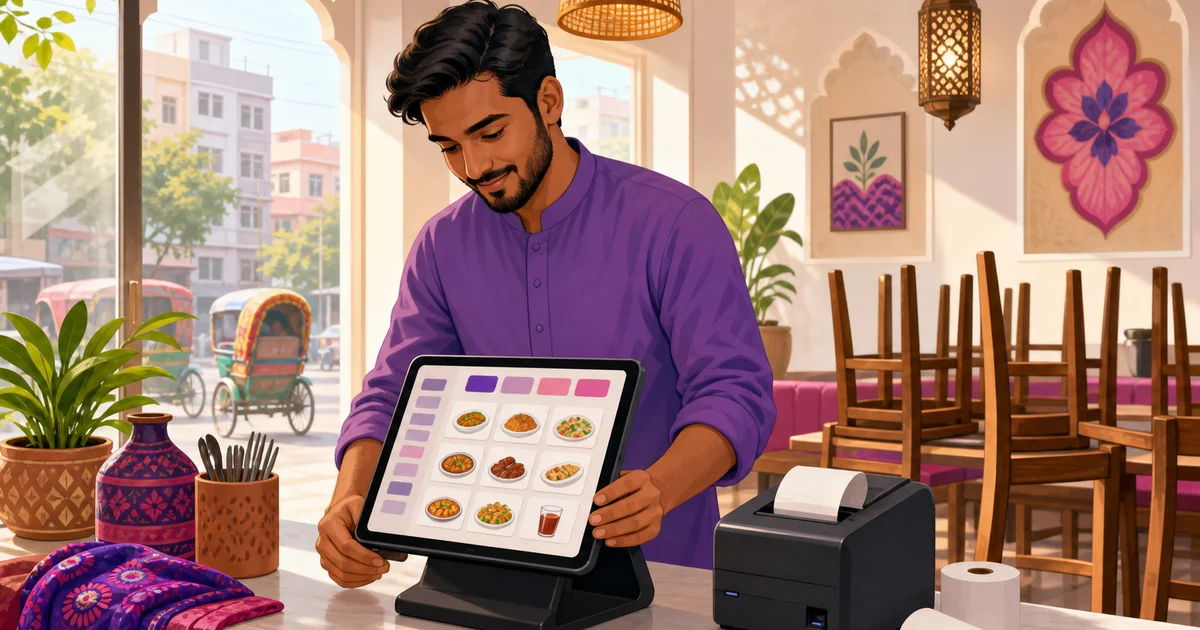
You do not need a week or a technician to set up a restaurant POS. With a cloud platform and a clear order of steps, a single owner or manager can go from sign-up to taking real orders in one working day. The trick is doing the steps in the right sequence so nothing blocks the next thing. Build the menu first, then printers, then payments, then staff, then tables, and you will not have to redo anything.
This checklist walks through that exact sequence. We use Rosuii as the running example because it is built for a fast start: when you register, your restaurant gets its own branded subdomain right away, so there is no DNS or hosting to wait on. Set aside a focused day, work top to bottom, and you will open with a POS that actually works.
Before you set up a restaurant POS: sign up and get your subdomain
The first thirty minutes are about getting in. Register your restaurant, pick a plan, and you land in the panel with your own subdomain like yourname.rosuii.com and an isolated database that belongs only to you. There is no setup fee and you can cancel anytime, so you can build with real confidence rather than committing blind. Have a few things ready before you open the laptop:
- Your menu, with prices, ideally already grouped into categories.
- Your logo, for receipts and your online ordering page.
- Your VAT rate and any service charge percentage you apply.
- The phone numbers and roles of the staff who will use the system.
- Your bKash and Nagad merchant details, if you have them.
With those in hand, the rest is mostly typing and tapping. Here is the order.
Step 1: Build your menu and categories (about 2 hours)
The menu is the foundation, so do it first. Everything else (the POS buttons, the kitchen tickets, your online page) is built from it. Start by creating categories that match how your menu reads: Rice and Biryani, Curries, Snacks, Drinks, Desserts. Then add items under each, with the price, and where it matters, a discount, an image, a prep time and the kitchen station it belongs to.
Where dishes come in sizes or options, set those up properly so the counter is fast later. In Rosuii you can add variations (a regular and a large borhani), add-ons (extra raita, extra naan) and combos. Add the Bangla and English names together, since the system is bilingual and your storefront and receipts will use both. Do not rush this part; a clean menu now means a quick, error-free counter for years.
Step 2: Set up your printers (about 30 minutes)
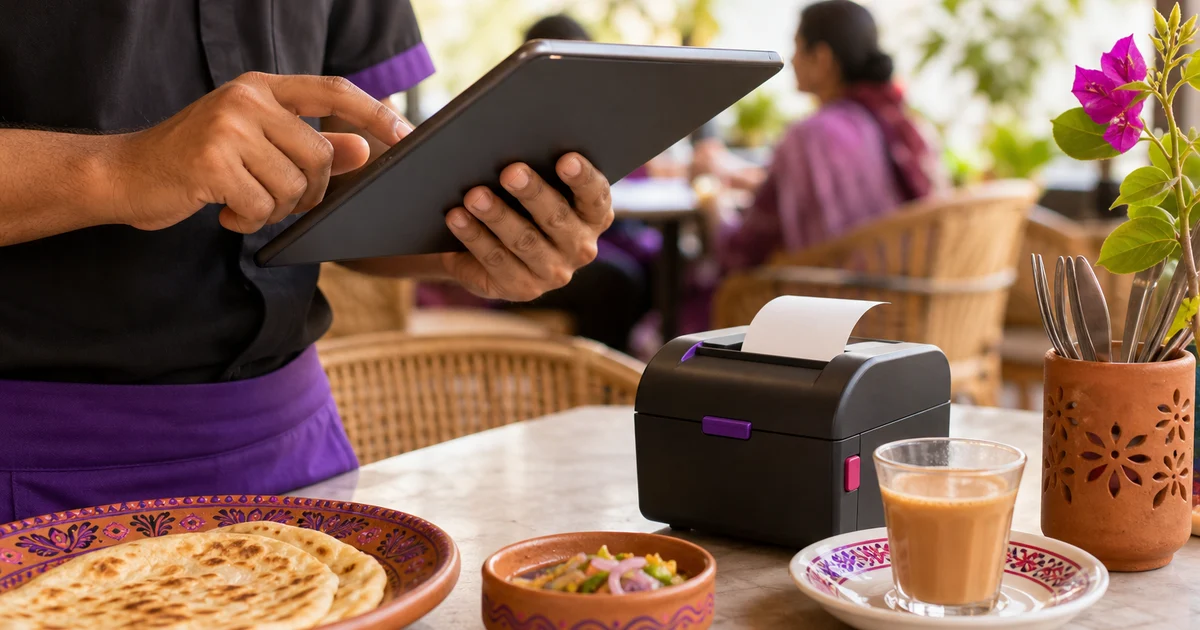
With the menu in, connect the hardware that prints. Most restaurants want a receipt printer at the counter and, if the kitchen prints, one on the line. Rosuii supports the common thermal sizes (58mm, 80mm and A4) with per-branch printer settings, and you can put your logo and a QR code on the receipt. Set the paper size to match the printer you actually own, do a test print, and confirm the layout looks right.
If you would rather skip kitchen paper entirely, you can send orders to a kitchen display instead, which many restaurants prefer. Either way, get printing settled now so the first live order does not surprise you. For wiring, paper sizes and troubleshooting, follow our restaurant thermal printer setup guide.
Step 3: Turn on payments, including bKash and Nagad (about 30 minutes)
Now make sure you can take money the way your customers pay. Cash works out of the box with automatic change calculation. For digital, this is where Bangladesh-specific setup matters: connect your bKash and Nagad so they are live, not just listed. Rosuii has real bKash (Tokenized Checkout) and Nagad (Online Payment API) integrations, plus cash on delivery for your online orders. Enter your gateway keys, and use sandbox mode first to run a test transaction before you go live.
While you are here, set your VAT rate and service charge percentage so every bill calculates correctly from the first order. Card is offered as a placeholder, so lean on cash, bKash, Nagad and COD, which are the rails your customers actually use.
Step 4: Add staff and set their roles (about 30 minutes)
A POS should not give every person the same powers. Add your team (cashier, waiter, manager, kitchen) and assign each a role so people see only what their job needs. A waiter takes orders and fires them to the kitchen; a cashier handles payment; only a manager or owner sees full reports, voids and settings. Rosuii has role-based permissions for exactly this, which protects your numbers and keeps the screen simple for each person.
Set this up before opening so nobody is sharing one login or stumbling into settings they should not touch. It also means your reports can show who did what, which is the start of real accountability.
Step 5: Lay out your floors and tables (about 30 minutes)
If you run dine-in, build your floor plan so the POS matches your room. Create your floors or sections (ground floor, rooftop, AC section), add the tables on each with their numbers and capacity, and you get a visual table board showing available, occupied, reserved and maintenance. Waiters can then assign orders to tables, and you can print or display a QR code per table for contactless ordering. We go deeper in our guide to restaurant table management and QR ordering.
Takeaway or delivery-only kitchens can skip this step entirely and rely on token numbers instead. That is the point of doing tables last: it is optional, and not everyone needs it.
Step 6: Do a test run before you open (about 30 minutes)
Before the first real customer, ring up a few practice orders end to end. Build a dine-in order, send it to the kitchen, take a bKash payment in sandbox, print the receipt, and check it on the reports. Do a takeaway and a delivery too. This last half-hour catches the small things (a missing price, a wrong VAT rate, a printer set to the wrong size) while it is calm, not during a dinner rush.
Your one-day setup at a glance
| Step | What you do | Rough time |
|---|---|---|
| Sign up | Register, pick a plan, get your subdomain | 30 min |
| 1. Menu | Categories, items, variations, add-ons | 2 hours |
| 2. Printers | Receipt and kitchen, paper size, test print | 30 min |
| 3. Payments | Cash, bKash, Nagad, VAT and service charge | 30 min |
| 4. Staff | Add team, assign roles | 30 min |
| 5. Tables | Floors, tables, QR (dine-in only) | 30 min |
| 6. Test run | Practice orders end to end | 30 min |
That is a full day with room to spare. Because Rosuii is a browser platform, there is no software to install on a special machine and no proprietary terminal to buy; you can run it on a tablet, phone or laptop you already own. To understand what the POS does once it is live, read our guide to the restaurant POS system, and check what each plan includes on our pricing page.
Tips for a smooth first week
A few small habits make the first week easier. Train your cashier and a backup on the same day so you are never stuck if one person is off. Keep your menu open in the panel for the first few days so you can fix a price or a typo on the spot. Run the day-close report every night to build the habit and confirm the totals match your cash. And add your most-ordered items as the easiest to reach on the POS, so the counter is fast when it is busy.
Ready to set up your own POS today? Create your free Rosuii account, get your instant subdomain, and work through this checklist to open with a POS that just works.
Last updated:
Frequently asked questions
How long does it take to set up a restaurant POS?
What is the right order to set up a POS?
Do I need special hardware to set up a Rosuii POS?
How do I set up bKash and Nagad on the POS?
Can I set up the POS myself without a technician?
Run your restaurant on Rosuii
POS, menu, inventory, payroll and more — built for Bangladeshi restaurants.
Start free