
POS Printer Troubleshooting: No Print, Faded Text and Jams
Start with power, self-test and paper. Then separate printer hardware from cable, network, driver and POS workflow.
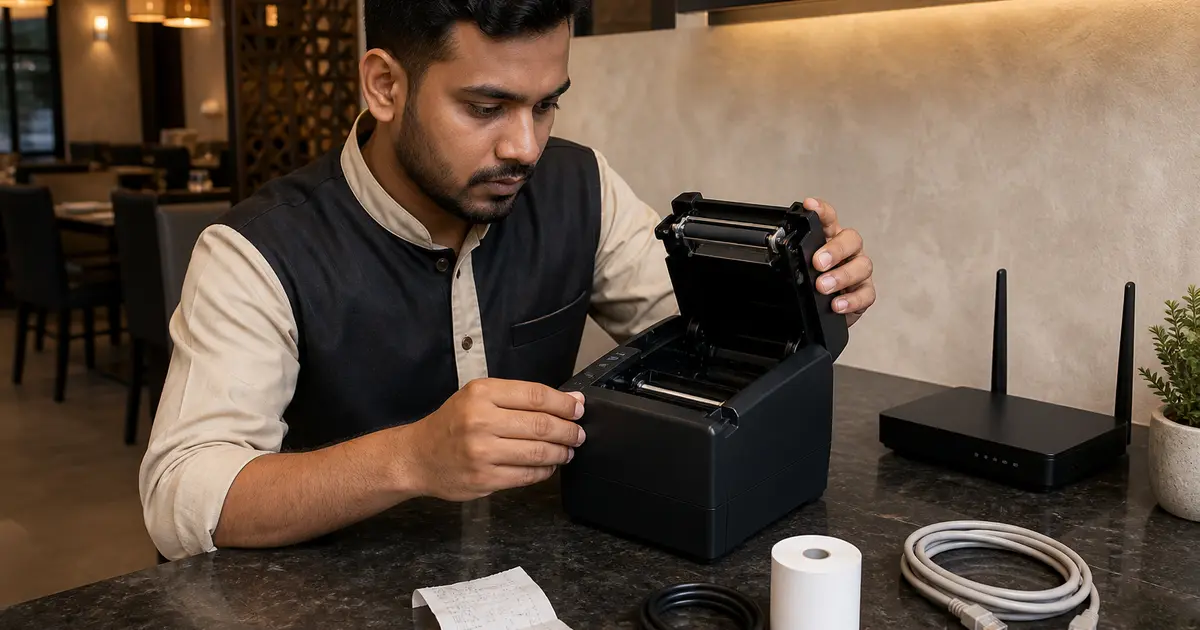
POS printer troubleshooting becomes faster when you isolate one layer at a time. First prove that the printer can power on and print its self-test. Then check paper and cutter, connection, driver and finally the POS workflow.
Do not open a powered unit or touch a hot head. If there is smoke, liquid, burning smell, melted wiring or repeated breaker trips, disconnect power safely and use authorised service.
Symptom-to-check table
| Symptom | First checks | Likely layer |
|---|---|---|
| No lights | Socket, adapter, switch, cable | Power |
| Lights but no self-test | Paper, lid, error light | Printer hardware |
| Self-test works, POS does not | Cable/IP/pairing/driver | Connection/software |
| Blank receipt | Thermal side orientation | Paper |
| Faded receipt | Paper, density, head, adapter | Media/maintenance |
| Paper jam | Torn paper, roll alignment, cutter | Paper path |
| Random characters | Driver, baud rate, protocol | Configuration |
| LAN offline | IP, router, port, ping | Network |
Step 1: power and self-test
Use the original or correctly rated adapter and a known working outlet. Check the power and error indicators. Most printers can produce a self-test by holding Feed while powering on; follow the exact manual.
If self-test fails, the POS software is not the cause. Record the light or beep pattern, model and serial before service.
Step 2: paper, lid and cutter
Load the correct width with the heat-sensitive side facing the head, pull a short straight tail and close the lid firmly. Remove small torn pieces with power disconnected; never use a knife near the roller or head.
For a cutter error, follow the manual's release procedure. Do not force the lid or blade. Repeated jams can indicate wrong diameter, deformed core, poor winding or a cutter that needs service.
Step 3: faded or blank output
A blank page usually means reversed or non-thermal paper. Faded printing can result from unsuitable paper, dirty head, low density, incorrect adapter or head wear. Let the head cool and clean only with the method and material specified by the manufacturer.
Print the self-test. If it is also faded, focus on paper, power and hardware. If the self-test is clear but the POS bill is faint, check driver density and receipt image settings.
Step 4: USB and Bluetooth
For USB, reconnect both ends, try a known cable and verify the printer port in the operating system. Remove duplicate offline queues and print an OS test page before testing Rosuii.
For Bluetooth, charge both devices, forget and pair again, confirm only the intended device owns the printer and test after sleep. Bluetooth support may depend on the app or driver, not only pairing success.
Step 5: LAN and Wi-Fi
Print the network configuration page and compare its IP with the POS driver port. Confirm the device is on the same local network and that the router has not assigned a new address. Reserve the IP after recovery.
For Wi-Fi, check SSID, password, signal and whether the printer is on an isolated guest network. Keep a one-page record of the working IP and configuration.
Step 6: POS workflow
Once the operating system test prints, generate a Rosuii test receipt. Check the selected 58mm or 80mm branch format, browser print destination, permissions and whether the order is in a printable state.
If offline billing is active, remember that online payment confirmation and live multi-device KDS data still require internet. Separate a printing failure from an order-sync outage.
Prevent the next incident
- Use suitable paper and clean storage
- Keep printer away from oil, steam and liquid
- Label power and network cables
- Reserve network IP
- Save driver and settings
- Train two staff on self-test and roll loading
- Keep spare paper, cable, adapter or printer based on volume
Triage one layer at a time
Separate the path into power and mechanics, printer self-test, cable or network, operating-system destination, browser or application workflow and order state. Change one variable, record the result and return known-good settings before moving on. Random driver, port and template changes destroy evidence.
Stop and follow the manufacturer or qualified service route for smoke, burning smell, liquid exposure, damaged power parts, repeated electrical trip, unsafe heat or a cutter that cannot be cleared by the documented user procedure.
Capture an incident evidence set
Record outlet, station, exact model and serial, connection, device, operating system, driver or browser, paper, time, order or test reference, indicator state, error text, last known-good print and recent change. Photograph labels or errors without exposing customer or payment secrets.
Use precise symptoms: no power, self-test fails, OS test works but POS does not, faded output, blank paper, partial cut, duplicate print or intermittent network loss. That lets support start at the failed layer.
Handle queues and duplicates safely
Before reprinting, check whether the original order was accepted, printed elsewhere or remains queued. Mark a replacement copy according to restaurant policy and prevent the kitchen from preparing the same item twice. Do not repeatedly click print while the connection state is unknown.
After connectivity returns, observe whether pending jobs release. Clear or cancel a queue only through the documented operating-system, printer or application method and only after recording affected order references.
Validate the fix before service resumes
Run the printer self-test, operating-system test and Rosuii test in sequence. Then print the real receipt or KOT pattern, including Bangla/English, modifiers, QR and cutter if relevant. Power-cycle or reconnect once to prove the configuration persists.
Record what changed, who approved it and the result. A single short test is not enough for an intermittent fault; monitor a comparable service window and keep a temporary fallback until the issue remains stable.
Escalate with a reproducible case
Send support the exact model, source of driver or manual, environment, connection diagram, self-test result, OS-test result, application-test result, timestamps and safe error evidence. State which changes were tried and reverted. Never send a card number, PIN, password or unrelated customer data.
Use the seller or manufacturer's written warranty and service process. If hardware is swapped, repeat installation acceptance and update serial, configuration and spare records instead of assuming the replacement is identical.
Close the incident only after the documented test passes and the responsible outlet lead confirms normal output.
The self-test is the dividing line: if it fails, troubleshoot the printer; if it works, troubleshoot connection, driver and workflow. Record the fix so the next cashier solves it in minutes.
Related guides
See this workflow in Rosuii: Review Rosuii printer and receipt settings
Sources checked
Last updated:
Frequently asked questions
Why is my POS printer not printing?
Why is the receipt blank?
How do I fix faded thermal printing?
Why does my LAN printer show offline?
Should I force a stuck cutter?
Run your restaurant on Rosuii
POS, menu, inventory, payroll and more — built for Bangladeshi restaurants.
Start free